It's the week of the knitting pattern! This one's free and quick, and takes 10 or fewer yards of yarn. Of course, it won't be much use if you aren't a spinner or don't know one — but there's always room for a new craft, right? ;) Anyway, this pattern is for a wrist distaff. I'll probably make a PDF out of it later, but I wanted to post the pattern before I lost my nerve. Here 'tis.
Fiber Helper/Wrist Distaff
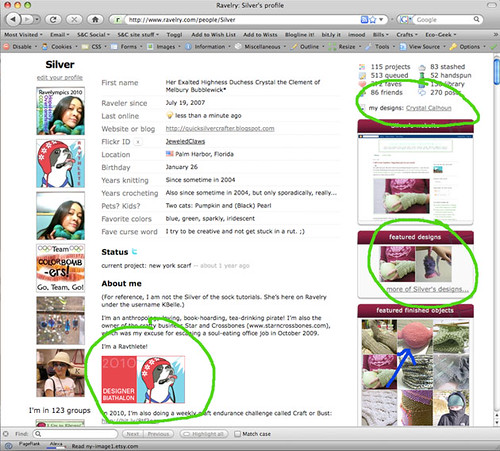
Design and Pattern by Crystal Calhoun
A Star & Crossbones Knitting Pattern
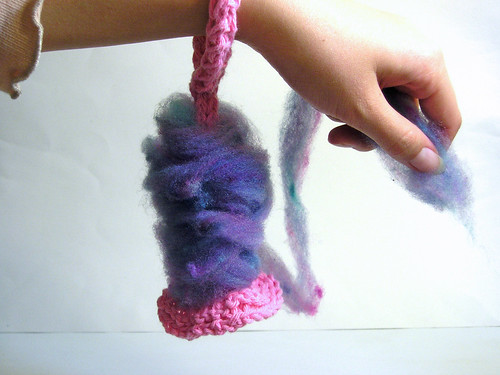
A tiny bit lacy, a tiny bit cabley, and they only take a tiny bit of yarn. Ta-da! A stashbuster knitting project for spinners or friends of spinners. For those of you who haven't used a wrist distaff before, there's a nice short demo video
here.
Designer's notes: pattern structure
The wristband is knit flat, then joined together to become I-cord, which ends in a little bell or circle to help keep the fiber from slipping off. The "stopper" at the end is knit in the round — so you get a lot of technique for the tiny yardage. ;)
Added August 26, 2010: At least one person has also gotten a ruffled stopper using these directions. I think if you use a heavier yarn than recommended, or knit at a larger gauge than I did for some other reason, you'll probably end up with ruffles rather than a circle or a bell. Feel free to drop me a line and let me know if you end up with ruffles, or some other unexpected result, too!
Materials
- Around 10 yds of worsted-weight yarn
- Size 6 double-pointed needles
Stitch Patterns
Crossed Stitch (crs): Insert right ndl into 2nd st on left ndl, and knit. Knit 1st st on left ndl (st closest to edge of ndl). Slip both sts off left ndl at once.
And now, the knitting!
CO 4 sts. (Designer used the long-tail cast-on.) Purl one row.
Row 1 (RS): k1, crs, k1
Row 2 (WS): sl1 purlwise, p2, sl1 as if to purl tbl
Rep these two rows for 7 inches or until wristband is long enough to fit comfortably around your wrist with ease (it will need to slip on and off easily, but not be so loose that it will fall off while you're spinning). End by knitting a WS row, ready to start a RS row.
Next row, join wristband into a circle: Hold CO edge behind live stitches and, for all sts of row, knit into one live stitch and one stitch of CO edge at the same time.
Tip: If you find that easier read than done, try this technique for the wristband join row: Knit each CO/live st pair in two steps. Put the right needle tip into both the live st and the CO edge st. Hold the CO edge firmly with left hand, and draw the working yarn through the CO edge st. Then, holding the left needle as usual, draw working yarn through live st on needle. (Whew!)
Begin I-cord: Knit one row. * Without turning work, slide live sts to right end of dpn and bring working yarn to right edge of knitting; knit all sts. Rep from * until I-cord measures 4 inches, or desired length of wrist distaff.
Increase for bottom stopper and join to knit in the round:
Row/Rnd 1 (inc): kfb into all sts. (Divide sts over at least 3 dpns after the first rep of this inc row, and continue knitting stopper in the round.)
Rnd 2: Purl.

Rep these two rnds 1-3 times depending on how big a stopper you want. Knit one round. Bind off. Weave in ends. (I like to "weave in" the yarn dangling off the wristband by running it into the hollow space inside the I-cord, then bringing the needle out near the bottom of the I-cord and clipping it close to the I-cord — but not so close I cut the I-cord.)
Your fiber helper/wrist distaff is ready to help you enjoy making more yarn!
License/copyright: This pattern and items created from it are intended for personal, noncommercial use only. Please do not reproduce and/or redistribute this pattern without the designer's permission. If you're interested in using this pattern or the products of this pattern for commercial purposes, please contact the designer at crystal@starncrossbones.com. :D
