Aug 21, 2016

Return of the mojo

It's not all the way back, but some of it is back, anyway. Look at what I've been working on lately!  

Collage of made stuffs, August 2016

Clockwise from top left, that's some Falkland wool I've been spinning into yarn (hand dyed by Little Libellule), a fig and almond cake from a New York Times recipe (note to self: Do use the food processor next time; don't chop almonds for half an hour and make your finger all tingly and numb where it was pressing too hard on the knife), and all the rest are squares I've woven lately on my 4-inch Weave-It pin loom. I finally got out of my plain-weave pin loom rut, and non-plain-weave squares are easier than I thought they would be — silly me, for being intimidated and ignoring them for so long.

In reawakening my crafty self, I've re-noticed that my craft blog could use a(nother) serious redesign, and that my Ravelry account is saaaaaaaadly out of date. There are bajillions of projects and stash yarns, etc., that aren't on there. But it's better to be crafting again than not, even if I have a few years of blanks to fill in now. ;D

Sep 17, 2014

A look at what working at Jo-Ann is like

Man, I need to overhaul this blog again. So much potential, so little time. ;)

Anyway, just wanted to stop by for anyone who may be looking and post a link another crafter friend brought to my attention. If you've ever wondered what the heck goes on behind the scenes at Jo-Ann, that near-ubiquitous craft store, wonder no more.

Dec 11, 2013

Plier-ing on

(OK, so that title would work better if I could have reasonably written "soldering on" as my stupid pun of the day, but ... WHATEV. ;) )


Finally buckled down and got some Tool Magic, which basically coats the jaws of your pliers with a thin layer of grippy stuff so that working with wire is easier and you don't leave marks on said wire. Pliers on the left(ish) are newly coated, pliers on the right (minus the bottom one) are uncoated (but duh, right?).

I've been meaning to get some of this stuff for years, and now that I'm using normal (a.k.a. fairly wimpy) pliers to work with fat fat wire, I've finally given in and gotten some in hopes that it will save my poor hands. Plus, it was on sale on the Jo-Ann web site, and had free shipping for Black Friday, or Cyber Monday, or something. How could I resist any longer?

Anyway, back to prepping for this weekend. I'll be at the Atomic Holiday Bazaar for the first time ever, and I have about a thousand skeins of yarn to finish, plus whatever else I can manage off the "if I had a million years and endless energy I would do these things for this show" list. ;)

I did finish a bunch of Zen-esque wrap bracelets last night, though. Oooh, ahhh. Well, I like them. Hopefully other people do, too.

Jun 26, 2013

I liiiiiiive! Crafty picture spam and the Tour de Fleece 2013

Yessss! I exist.

So ... I did that "falling off the planet" thing that I do every so often, but I'm back! (For however long it lasts.) For a while there, I wasn't doing a whole lot of (physical) crafting, but I did actually finish one long-standing creative project: writing a novel. Working on another now, but that's not what this blog is about, really. ;)

Anyway, recently I've been back on the crafting thing (mostly for my Etsy shop, but hey, that definitely counts). Look! Proof!

Sparkly pink bow
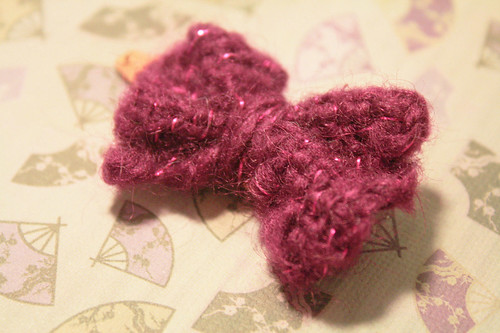
My very first handwoven bow! Tiny, pink, sparkly! How can that be bad? ;)


Pink bows
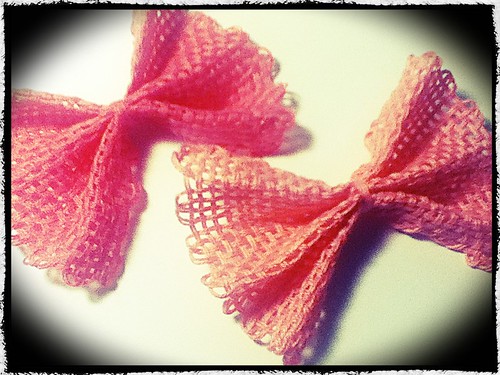
More handwoven bows, these for a custom order.

Dyed loose wool: cools
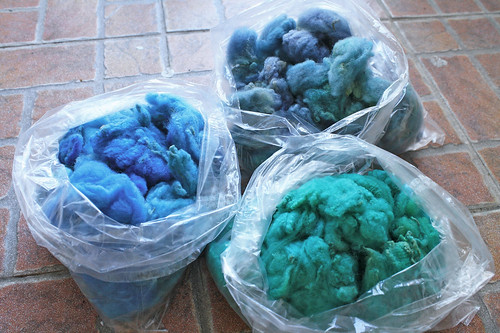
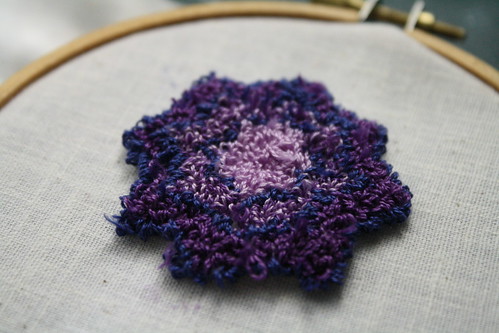
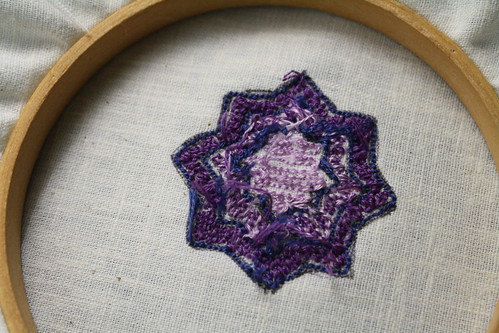
Loose dyed wool, cool-colored batch. Eventually these will make it into the shop. *crosses fingers* Since I don't really need more fiber sitting in my stash and staring at me like "Spiiiiin meeeeeeeeeee."

An assortment of shawl pins in cool colors
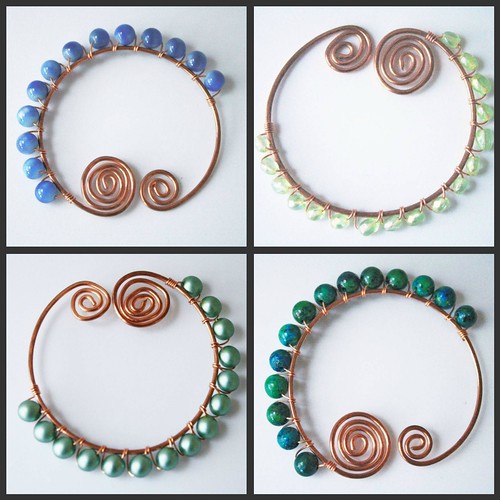
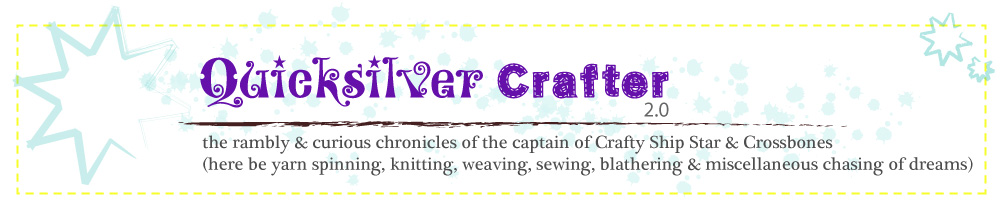
Assorted beaded shawl pins in cool colors. (You may sense a theme here.)

Paper-cut bookmark
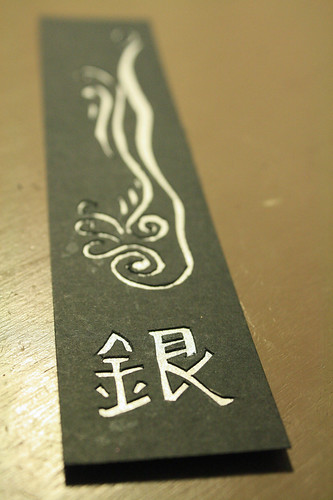
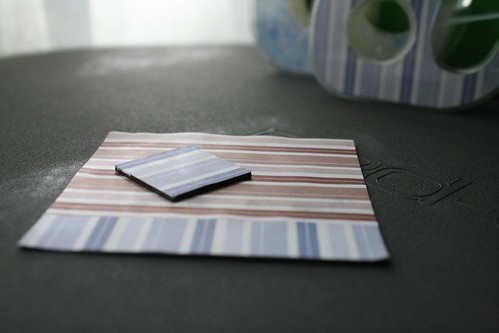
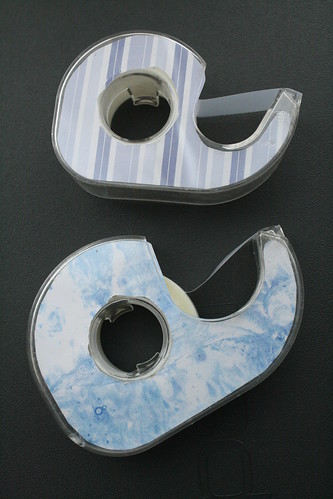
A paper-cut bookmark with the kanji for "silver" on it (hence the silver paper — I'm sooooo clever, I know ;) ). This one's actually for me and not the shop. (Whaaaaaaat???)

Box of bows
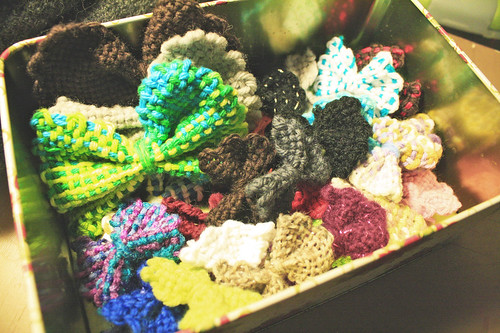
...And yet more bows! Bows, bows, everywhere!

OK, enough pic spam. The whole reason I got off my butt and posted here finally is that I'm going to be doing the Tour de Fleece again this year, and this time I'll even get to watch the Tour de France on an actual TV. That's as opposed to watching it streaming on a tiny computer screen. Of course, I may do something odd like turning off the sound for the TV and putting on the streaming video anyway. I've grown rather fond of the Eurosport announcers in the past few cable-TV-less years...

So far I've been terrible about checking in on the usual TdF Ravelry group, but I have officially joined Team Nevermore, hosted by the eternally awesome Threeravens Yarn and Fiber Studio. I'm even on the ball enough to have some shawl pins ready to ship to Christiane (leader of Team Nevermore) as prizes for the team. And rather than loading myself down with a bunch of crazy goals, at the moment my sole, singular, one and true goal is to spin up as much as ever I can of an alpaca fleece that I promised someone I would turn into yarn for them, because I really uber-seriously do not wish to slack on that any more. Yeah ... I think I've entered the Twilight Zone.

And that's where I am right now in the world of craft. Cheers, woo, and all that jazz. If I stay in this bizarrely productive Twilight Zone then there should be more updates to come, but hey! Who's even watching any more, right? ;) I'm probably talking to myself here! Ha, ha ... Awesome. For the whole one person who's probably going to read this, you rock, and I'll do my best to come back and keep you entertained as well as my meager skills allow.

For now ... Toodles!

Feb 19, 2012

Weekly craft check-in #7: prettified matchbox

There's this big matchbox that sits on the table by the computer. I see it every single day. It was just an ordinary matchbox, but no more! I decided that if I'm going to have to see it all the time, it might as well be a little nicer to look at. And when all it takes is a little paper, glue, a craft knife and about five minutes to make something easier on the eyes, well, I have no real excuse for not doing it. ;)

Prettified matchbox

Check out the bronze metallic paper on the sides, too. Pretty snazzy, and it kind of goes with the "fiery" theme, I think:

Prettified matchbox

Oh, and I forgot: There was also a fine-tip Sharpie involved, so I could write a little label on top of the box.

Prettified matchbox

So that's what I made last week. There was much pondering of cross-stitching, but no stitching actually got done. A nice bag of alpaca is also waiting for me to prep it and spin it up, which you'll get to see soon, I promise.

What have you made in the past week? :D

Feb 13, 2012

Weekly craft check-in #6: stripes and purple fuzz

OK, so I should have posted this yesterday, but ... well, there it is. ;)

Last week's crafty endeavors included not only the ridiculously easy prettified tape dispensers, but some prettified magnets to match. I don't know about you, but we have a ton of those promotional magnets floating around here — the kind you get in the mail from lawyers and appliance repair shops and the like, who are super-eager to have their presence and business contact information in your home. Suffice to say those aren't generally very attractive, so I took a couple and glued some decorative paper on. Now I actually have matching tape dispensers and magnets, which is, I'm pretty sure, a first for me.

Prettified magnets

The other thing I worked on last week was my first needle punch project. It wasn't the first time I've tried needle punch, but my first attempt ended in baffled frustration as I couldn't get the loops to stay in the fabric. Silly me: After finally looking it up, I discovered that I must not have had the fabric taut enough in the embroidery hoop, since it needs to be able to close in a bit around the little loops when you take the needle punch tool out. Anyway, here's my first successful needle punch project ever:

My first needle punch project

It's almost like a minuscule rug, or a bath mat for dolls. ;) No idea what I'm going to do with it, though. (I still haven't figured out what to do with the Garfield cross-stitch, even.)

And oddly enough, the back side of it is almost better than the front, in my opinion:

My first needle punch project

But I hear the Japanese embroidery technique bunka shishu is pretty much needle punch from the "wrong" side. Maybe I should look into that. ;)

So what'd you make last week? Any crafty awesome to share? :D

Feb 8, 2012

Super-simple craft: instant tape dispenser upgrade

Although I wish I could, I can't take credit for this awesome idea: turning a standard, cheap-o tape dispenser into a pretty little thing (or a geeky little thing, or a dramatic little thing, whatever you choose) to brighten your day. It takes, oh, one minute, and all you need is pretty paper, a writing implement of your choice, and some scissors. Well, and a tape dispenser.

Anyway, I prettified both tape dispensers that wandered into my path while I was on a craft mini-rampage Monday evening, and it was so easy that I feel kind of like a doofus that I didn't start doing this years ago.

Super-easy DIY customized tape dispensers

Aren't they cool? I even wonked up the cutting a little and it totally doesn't matter at all. (See, look closely at the center of the one with the swirly paper. There's a bit of a jagged edge around the hole, but it's pretty non-offensive, IMO. I'm sure it would give some people the twitches, but I still think it's way better than the plain version of the dispenser, so I'll ignore it. ;))

Super-easy DIY customized tape dispensers

To make your own, just pop the tape roll out of the dispenser, take out the piece of paper that's already in there, and trace around it onto a nice-looking piece of paper of your choice. (You could even use fabric. I considered it for about two seconds before I decided I'd mind less if I messed up a pretty piece of paper. Which is a silly thing to worry about, since it's pretty hard to mess up this mini-project so badly that it doesn't instantly make your tape dispenser(s) look better.) Cut inside the tracing lines (if you cut outside them, your custom insert will probably be a wee bit too big) and pop your pretty paper back into the dispenser, then put the roll of tape back in. DONE! Seriously. Easy.

Credit where credit's due: I got this from Helena at Craft and Creativity, but she in turn got it from someone else. Maybe we can turn custom tape dispensers into a crafty meme. Go ahead, pass the idea on to all your craft friends. ;)
Related Posts with Thumbnails